Installation and finishing touches for modular kitchen are critical phases that bring together months of planning, design, and selection into a tangible, working kitchen. This step doesn’t just mark the completion of your modular setup—it defines how efficiently your kitchen will serve you in the long run. From precise assembly to the last decorative element, every detail matters in ensuring both form and function.
Table of Contents
Why Is Proper Installation Crucial?
The process of modular kitchen installation is not just about placing cabinets and connecting appliances. It involves structural alignment, system integration, and finishing accuracy. Poor installation can result in misaligned doors, wobbly drawers, electrical hazards, and long-term maintenance issues.
Benefits of Professional Installation
- Precision Fit: Ensures that each unit aligns seamlessly for both aesthetics and usability.
- Safety: Handles plumbing and electrical work per industry standards to prevent leaks or shocks.
- Time-Saving: Speeds up the process with minimal trial-and-error or rework.
- Warranty Support: Maintains validity of manufacturer warranties for cabinetry and appliances.
Step-by-Step Modular Kitchen Installation Process

1. Site Preparation
Before installation begins, ensure the kitchen site is clean, levelled, and ready with essential electrical and plumbing points. This avoids delays and ensures uninterrupted work during setup.
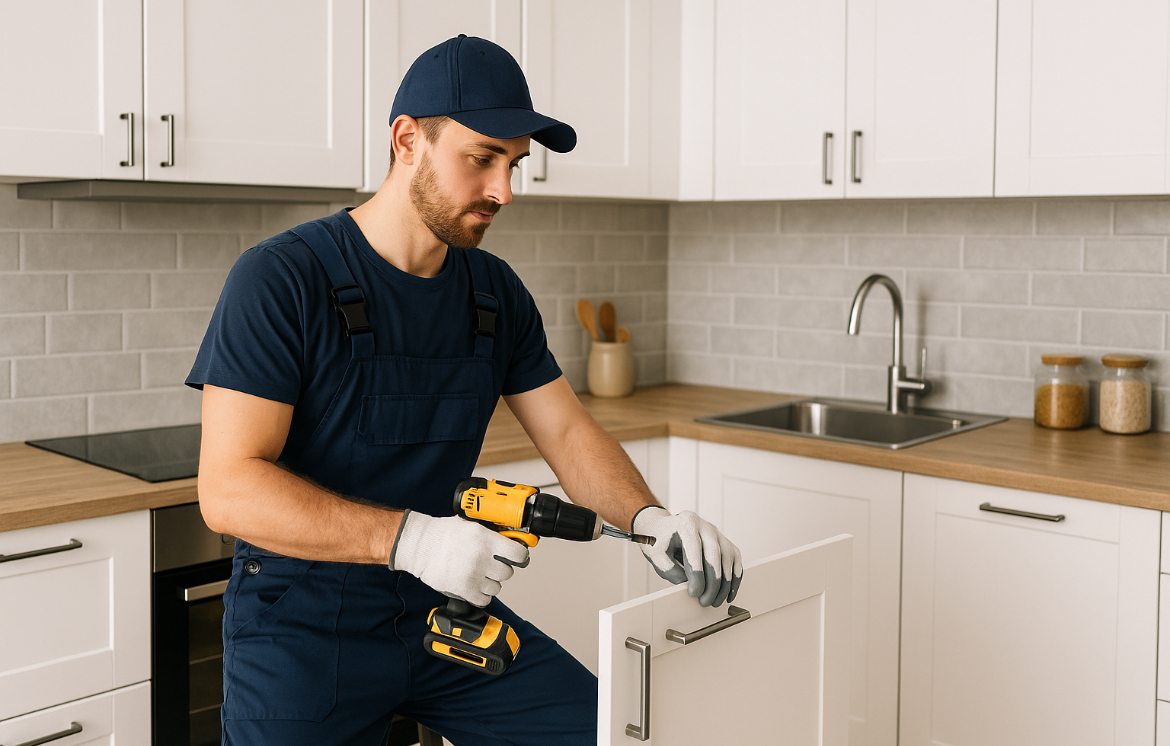
2. Base Unit Installation
The installer begins with the base cabinets that form the foundation of your modular kitchen. These need to be levelled perfectly to support countertops and appliances securely.
3. Wall Unit Installation
Wall-mounted cabinets come next, aligned to match the base units. They must be firmly anchored into the wall to hold weight and resist wear.
4. Appliance Integration
Built-in ovens, chimneys, dishwashers, and hobs are installed with the necessary power and water connections. Correct appliance placement plays a huge role in the functionality of the kitchen layout.
5. Countertop Placement
Countertops are placed last and require careful measurement and sealing, especially around sinks and appliances. Materials like granite or quartz need strong adhesion and finishing polish.
Conducting Post-Installation Quality Checks
Once installation is complete, it’s important to thoroughly inspect every component. This prevents issues that may not be visible immediately but can cause trouble later.
What to Check After Installation
- Cabinet Doors: Open and close all doors—there should be no resistance or misalignment.
- Drawers: Pull them out fully and ensure smooth gliding and secure stoppers.
- Sinks and Taps: Turn on the water, check for leaks under the counter and ensure proper drainage.
- Electrical Appliances: Test every appliance connected—lights, hobs, microwave, etc.
- Finishing: Inspect the joints, corners, sealing, and grout lines for polish and fit.
Don’t hesitate to raise any concerns with your installer before you make the final payment.
Personalizing with Stylish Finishing Touches
Once the main units are set up, it’s time to infuse personality and charm into your modular kitchen. Finishing touches bring warmth and elegance to a functional layout.
Decor Elements to Consider
- Backsplashes: Tiles, stainless steel, or glass—choose one that reflects your taste and is easy to maintain.
- Handles & Pulls: Upgrade to brushed metal, matte black, or ceramic knobs to add sophistication.
- Lighting Fixtures: Install under-cabinet lights, track lighting, or pendant lamps to create ambiance and enhance visibility.
- Decorative Accessories: Use minimalistic wall shelves, planters, spice racks, and artwork for visual appeal.
Smart Kitchen Finishing Touches
Think beyond aesthetics. Add features like magnetic knife holders, built-in trash bins, pull-out trays, and organizer racks. These functional additions significantly improve kitchen efficiency and are easy to install during this phase.
Common Mistakes to Avoid During Finishing
- Skipping surface cleaning before applying sealants or adhesives.
- Installing hardware without measuring or leveling properly.
- Overdecorating with non-functional accessories.
- Not testing lighting or appliances post-setup.
Final Walkthrough Checklist
- ✔ Cabinets, drawers, and shelves properly aligned and secured.
- ✔ All appliances are functional and installed as per design plan.
- ✔ Plumbing and electrical systems are leak-free and safe.
- ✔ Sealants applied to sink edges and backsplash joints.
- ✔ Final cleaning, polishing, and disposal of waste material done.
Conclusion
Every successful kitchen journey culminates in the installation and finishing touches for modular kitchen. Whether you’re renovating or building anew, these final steps are where function meets finesse. From accurate installation to custom decor enhancements, every action you take during this phase impacts how your kitchen performs and looks for years to come. Always choose skilled professionals, inspect diligently, and personalize thoughtfully. A well-finished kitchen is more than a cooking area—it’s the heart of your home.
FAQs (Frequently Asked Questions) on installation and finishing touches for modular kitchen
Can I install a modular kitchen myself?
It’s not recommended unless you have carpentry, plumbing, and electrical skills. Professional installation ensures accuracy and safety.
What is included in modular kitchen installation?
It includes cabinet assembly, appliance fitting, sink and plumbing connection, electrical setup, and hardware installation.
How long does installation take?
Typically 2–5 days depending on the kitchen size and complexity.
What are some budget-friendly finishing touch ideas?
Use peel-and-stick backsplashes, decorative knobs, and DIY lighting solutions for affordable upgrades
Is post-installation maintenance required?
Yes, regular cleaning, lubrication of hardware, and timely inspection of plumbing/electrical connections are important.
Also Read: